
Old news: Winter 2005's sidewalk work.
2003's big dig .
Now that the kitchen is mostly done, we're working on the bathroom. When that is finally cleared, we shouldn't need any more inspections unless we want to do something insane and put a half bath in the basement. I'd love a half bath in the basement, but it's nowhere visible on the priority list.
The remaining trees, as ever, are doing well. I gave the pear to someone who wasn't nearly as offended by it as I was, and put in an Ashmead's Kernel that I had grafted onto M-111. It's too small to show well in a picture, and besides, I haven't shot it yet. The gangly red oak in the front has finally achieved some volume and throws a little shade, and the pint-sized Oregon White (Garry) Oak in the back continues its deliberate climb. It's still small enough that we watch individual branches as they reach out. The red maples we planted across the street several years ago are starting to look like trees. We knew we'd better prepare some cover for when the circa-1895 Norway maple came down. It went down. We replaced it on our side of the street with a pair of species-tree Japanese Maples. Tree pictures this way.

This is the quintessential "before" picture. When we first saw the place, at least the street trees had leafed out. How did we see anything in it?
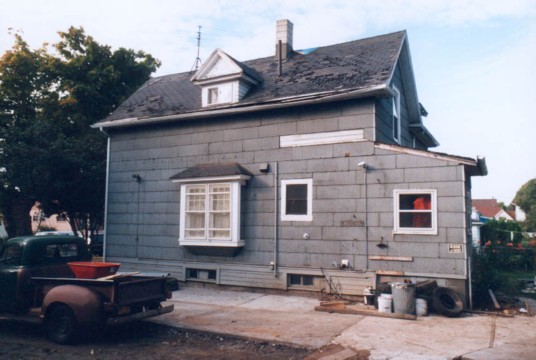
South side after removal of the garage and shed roof and boat and most of the previous owner's other trash. Mangy siding and rotting roof still in place, variety of detritus stuck to the wall. Note the leaning cinder block chimney.
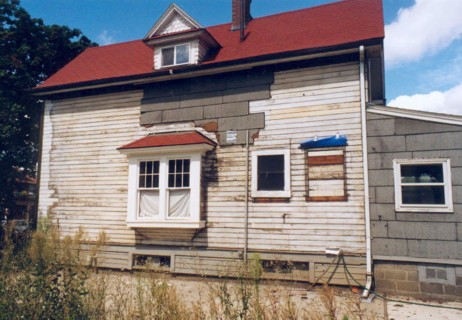
South side, mostly stripped, with new roof. Boarded up kitchen window exposed. Kitchen addition on the right still covered with asphalt siding because there was no real siding under it. Sheathing, yes, which is more than can be said for the rest of the house, but no siding. It was years before we could get around to working on the addition.
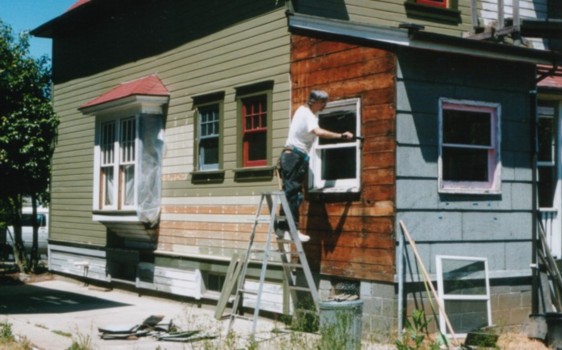
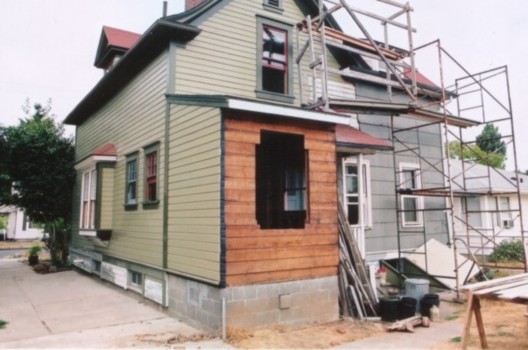
Eventually, we did. Problems you can't even see in the previous picture - like chunks of 1x6 nailed to the wall to patch holes where things once protruded through - are gone, and all bad siding replaced. We also had to replace much of the water table, which after many repairs continued to rot from the inside.
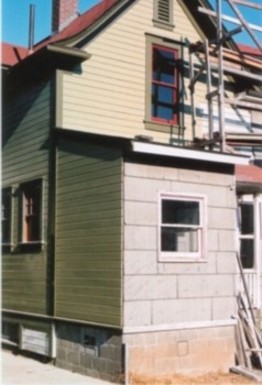 |
The south side of the addition less window and with proper siding; the east side just before we tore into it. |
East side: the difference between the old newer window and the new older window is obvious here.
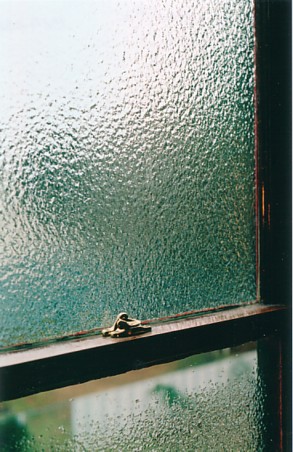 |
January 8, 2005 ice storm, from my stripped and varnished office window. (Visible on the second floor in the previous and subsequent pictures, adjacent to the home-made scaffolding extension.) |
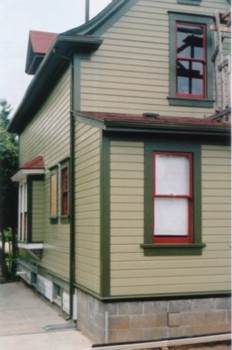 |
Addition window in, most of the proper trim installed and painted. Trim at the corner on the right will have to wait until next summer when we'll get the next wall done. In the meantime, we'll turn the "addition" into the "pantry," and make some real progress in the kitchen. |
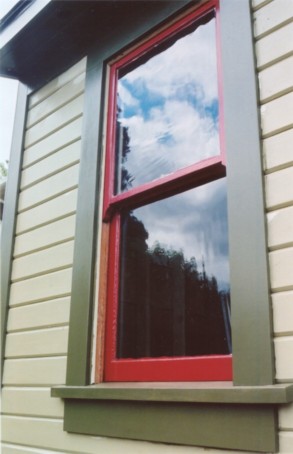 |
Watching birds through this should be interesting. It's the most irregular window we have - almost as wavy as the one covered in ice, if you include the ice. |
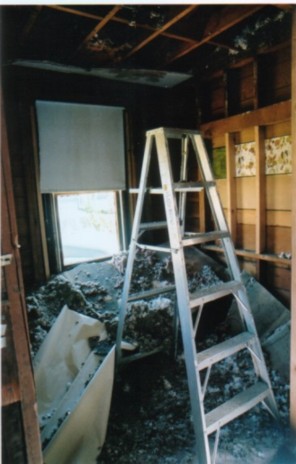 |
A new example of "why this takes so long." We wanted to finish the kitchen and pantry floors before winter really set in. The kitchen floor was patched, and I decided that if I was going to do anything about the pantry ceiling, I'd better do it before floor and cabinets went in. "The texturing should come off easily with a little water..." No, it took hours to get a fraction of it off. And under the texturing was black mold from an old ceiling leak. Oh. I don't want that in my house. Pull down a whole room's worth of drywall, keeping plaster off the unfinished kitchen floor and my nice varnished windows. Dump as much drywall into the trash can as will fit each week. Find holding places for the rest of it. Collect up all the blowin insulation that cascaded to the floor. Try to pick out the pieces of fiberglass - The Next Asbestos. Bag up both the usable blowin and the contaminated blowin. Try to remember which trash bag holds which. Go to the Unmentionable Big Box Store on a holiday weekend to buy greenboard and insulation we weren't supposed to need. Install some sheet metal to keep the new ceiling insulation from blocking the soffit vents. Wait until Doug rewires the light. Install the evil fiberglass. Cover it with visqueen. Cover that with greenboard. Tape, mud and smooth greenboard. At that point we were about where we started. |
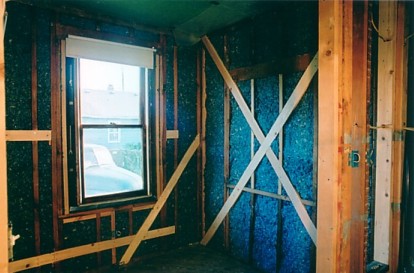
No more fiberglass going into this house. What went into the walls was cotton - chewed up recycled blue jean cotton.
 |
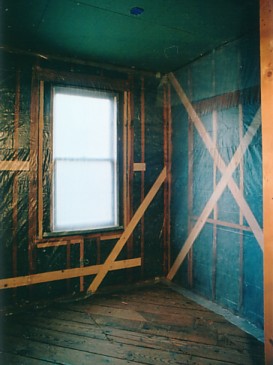 |
| The pantry before and after the vapor barrier, flooring not yet in and subfloor (the only place it exists in this house) still visible. |
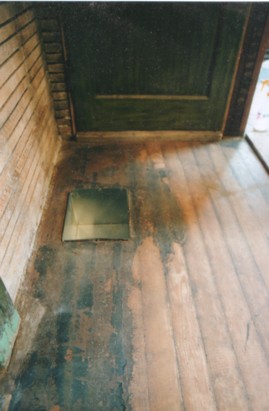 |
Last major remnant of linoleum glue and linoleum guts. The floor was all scraped here, and the worst of it patched. Then we installed the pantry floor. Then we sanded both, many times. Then we urethaned both. |
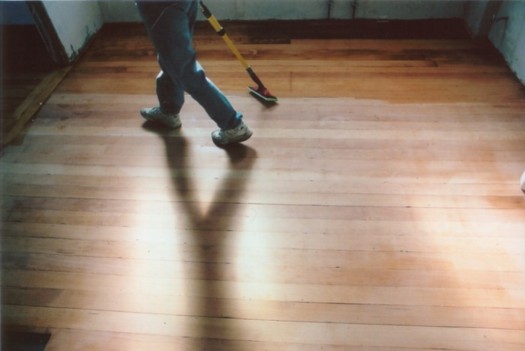
The floor is now done.
 |
Second or third sanding of a piece of old wainscot. The work surface is frame sized for working on our sash, all of which are a standardized 28" wide. And yes, it's a mess. |
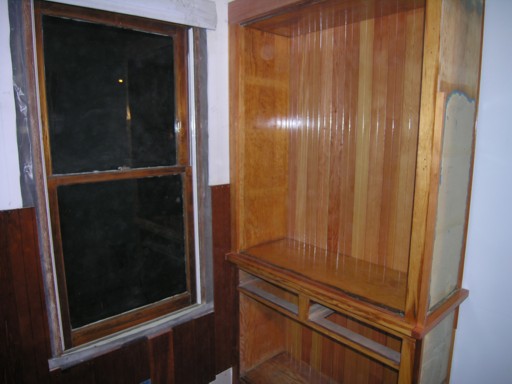 |
Pantry cabinet screwed into place. The dark wainscot on the wall was originally the back of the cabinet. We moved the old stuff to more visible locations, and re-backed the cabinet with new wainscot from Rejuvenation. All the wood is deep under many coats of varnish. |
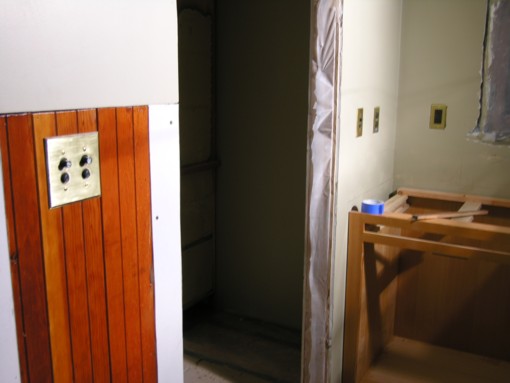 |
The wall between kitchen and pantry, with old wainscot, old switchplate, and new (grounded and expensive) push button switches. A bit of the new cabinet is visible along the south wall to the right. |
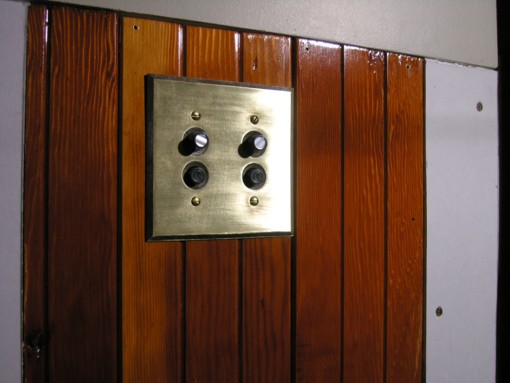 |
Closeup of the wainscot and switches. |
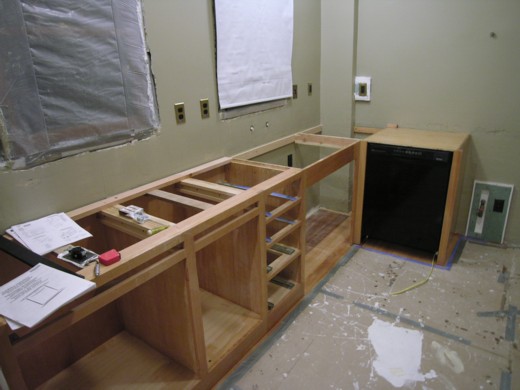 |
Kitchen cabinets, before the counter is attached. The face is pale, but it is varnished. The dishwasher is in place, although not yet installed. We will cover its modern black face with fir, and maybe it will disappear. Either installation has to wait until we get the counter and sink in, or we just plumb to a cleanout in the interim. I think it will wait. |
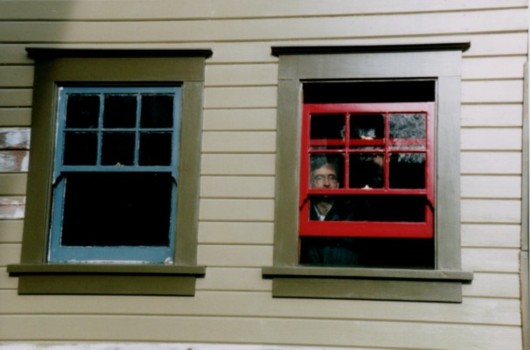
We did some work on the kitchen windows that should have been done 100+ years ago. Now they have crown and sport freshly puttied red sash. They're perfectly counter-weighted and slide up and down beautifully. Inside, they have a ruddy, varnished glow. At some point we'll make (buy?) wooden storms for all.
 |
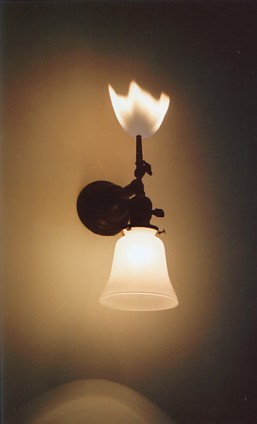 |
| Uncovering a half-hidden window in the living room. When they turned the front porch into a bathroom, they decided there was no use for a window onto it. That bathroom must remain until we can repair the original one, and then replace all the porch siding they removed. Rotting green carpet pad came up to reveal a (reused) 1930's maple floor. The maple dining room floor lost its battle with the urine of five dogs, and I ripped it up and sent it away. It still smelled after weeks in the back yard. The rest of the maple I'm ripping out slowly, starting with the entry and finishing in the living room. Then we'll see what we can do with the fir floor. | Combination gas/electric fixture in the entry hall that we were finally brave enough to light. It will probably be electric-only until the next ice storm power outage, when it will be gas-only. |
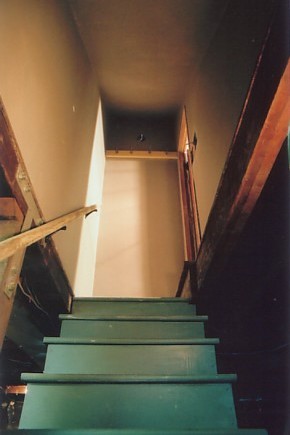 |
The basement stair looks good, and even has a handrail. There will be lights (and switches) top and bottom after we get our pair of electrical inspections. |
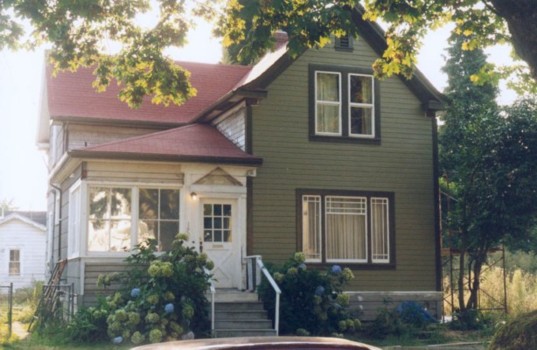
Paint on the front is failing before we've even had a chance to work all the way around once. More repair before we can reach "maintenance".
Suggestions? Assistance? An address to which you can send 3x3" cast iron Victorian hinges or 24x71" 4-panel doors? Write me. Get yourself a digital certificate and write me securely. Or, write Doug. A rudimentary view of the accompanying stove project and its needs can be found here.

|

|